How to Configure Meraki Guest WiFi Securely

Table of Contents
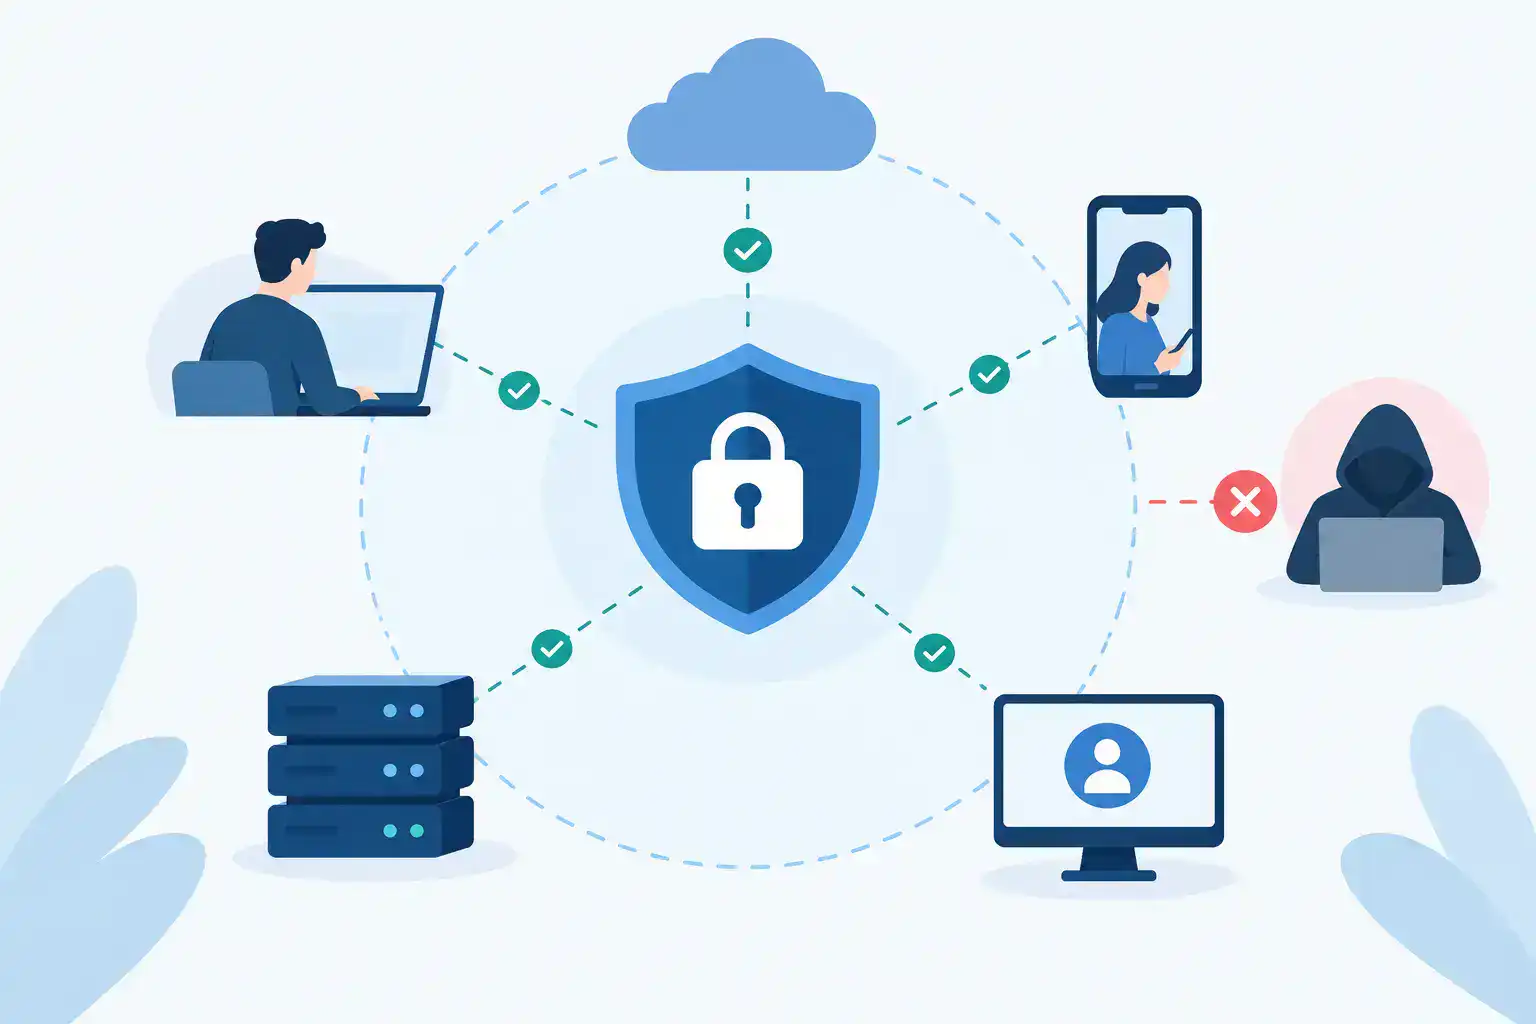
A guest wireless network should give visitors internet access without giving them a path to your accounting server, production devices, or employee laptops. When you configure Meraki guest WiFi, the SSID is the easy part. The real work is choosing the right traffic mode, separating the network, enforcing access rules, and testing the experience before guests arrive.
For a 100-to-250-person business, a clean guest design reduces help desk interruptions while limiting unnecessary exposure to the corporate LAN. Meraki Dashboard makes the workflow approachable, but a few configuration decisions have real security and operational consequences.
Start With the Guest Network Design
Before creating an SSID, decide where guest traffic will live and how it will reach the internet. Your best option depends on the rest of the network.
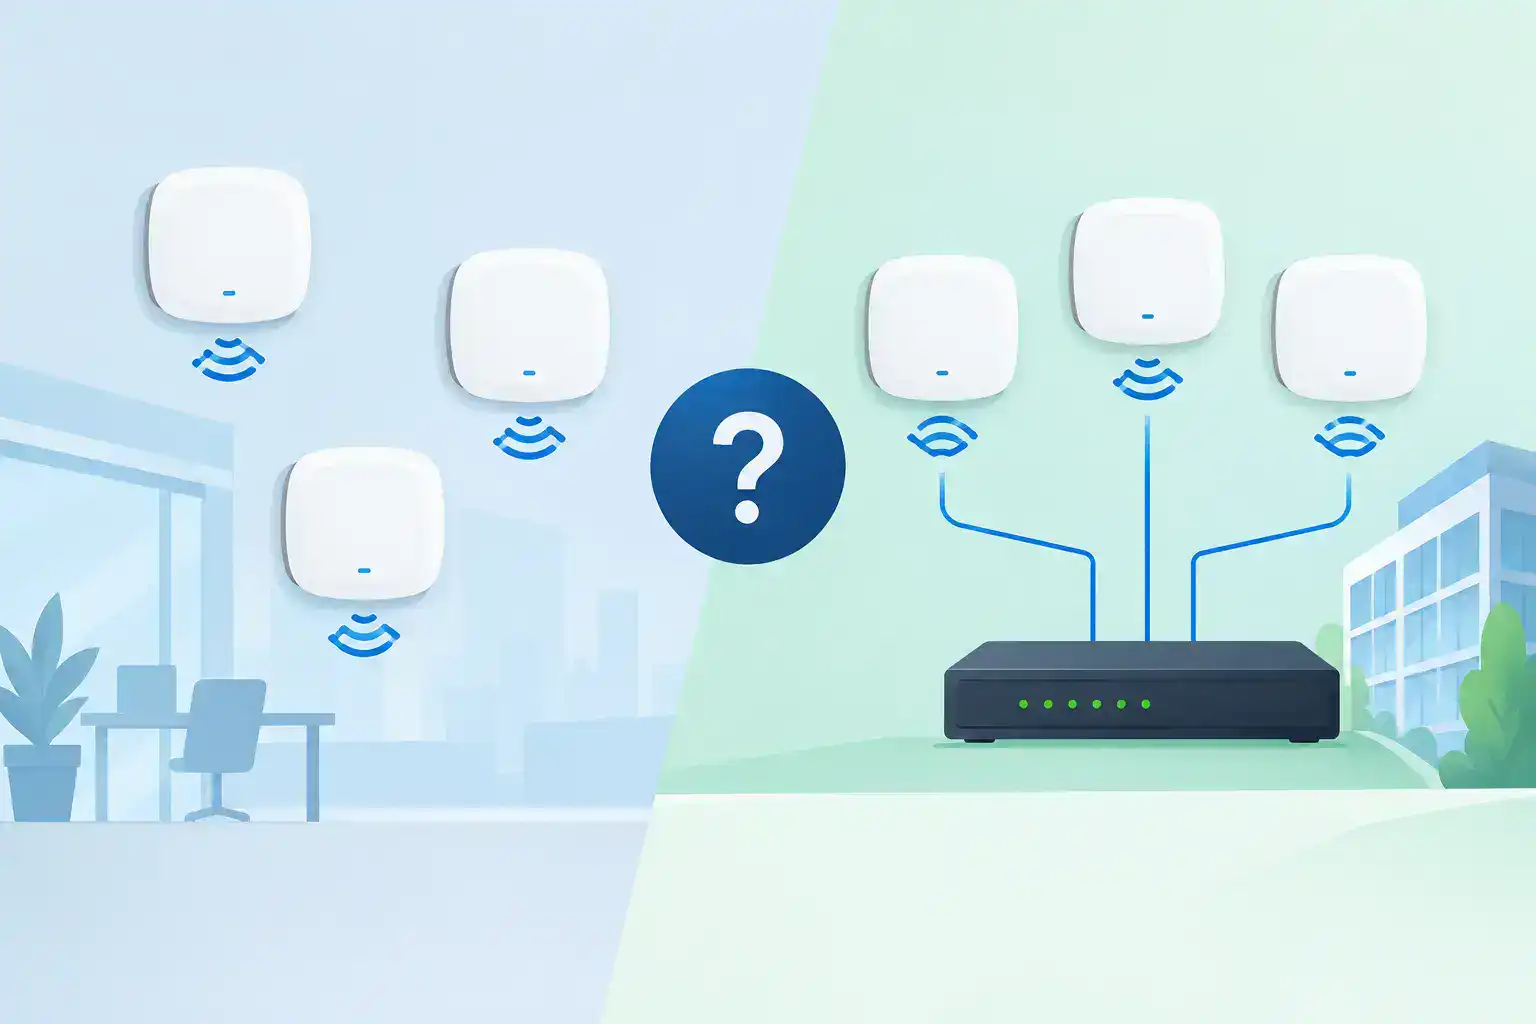
For a small office with a straightforward Meraki wireless deployment, Meraki NAT mode can be practical. Access points provide guest addressing and keep client traffic separated from the wired network by design. It reduces the need to create and maintain a guest VLAN, which is useful when IT resources are limited.
For organizations that need more control, use bridge mode with a dedicated guest VLAN. This is usually the better fit when you have an MX security appliance, managed switches, multiple sites, internal DNS requirements, or compliance-driven segmentation. The guest VLAN can receive DHCP from the MX or another approved DHCP service, while firewall rules control exactly where that subnet can go.
Do not choose bridge mode simply because it sounds more enterprise-grade. It adds dependencies: the VLAN must exist on switch trunks, have DHCP scope coverage, and be allowed at every relevant uplink. NAT mode is not a shortcut if it meets the security and reporting requirements. It is a simpler design.
Whichever option you choose, document the guest subnet, gateway, DHCP source, SSID name, authentication method, and policy owner. That small record prevents confusion during troubleshooting or a future refresh.
Configure Meraki Guest WiFi in Dashboard
Menu labels can shift slightly as Dashboard evolves, but the core wireless settings are generally under Wireless > Configure. Start by enabling an unused SSID and giving it a clear name, such as Company-Guest. Avoid names that reveal the company address, floor plan, or internal naming conventions.
Set the SSID availability
Decide whether the guest SSID should broadcast at every location and all hours. A retail store may need it continuously, while a professional services office may only need it during business hours. Meraki schedules can limit SSID availability when an always-on guest network creates more risk than value.
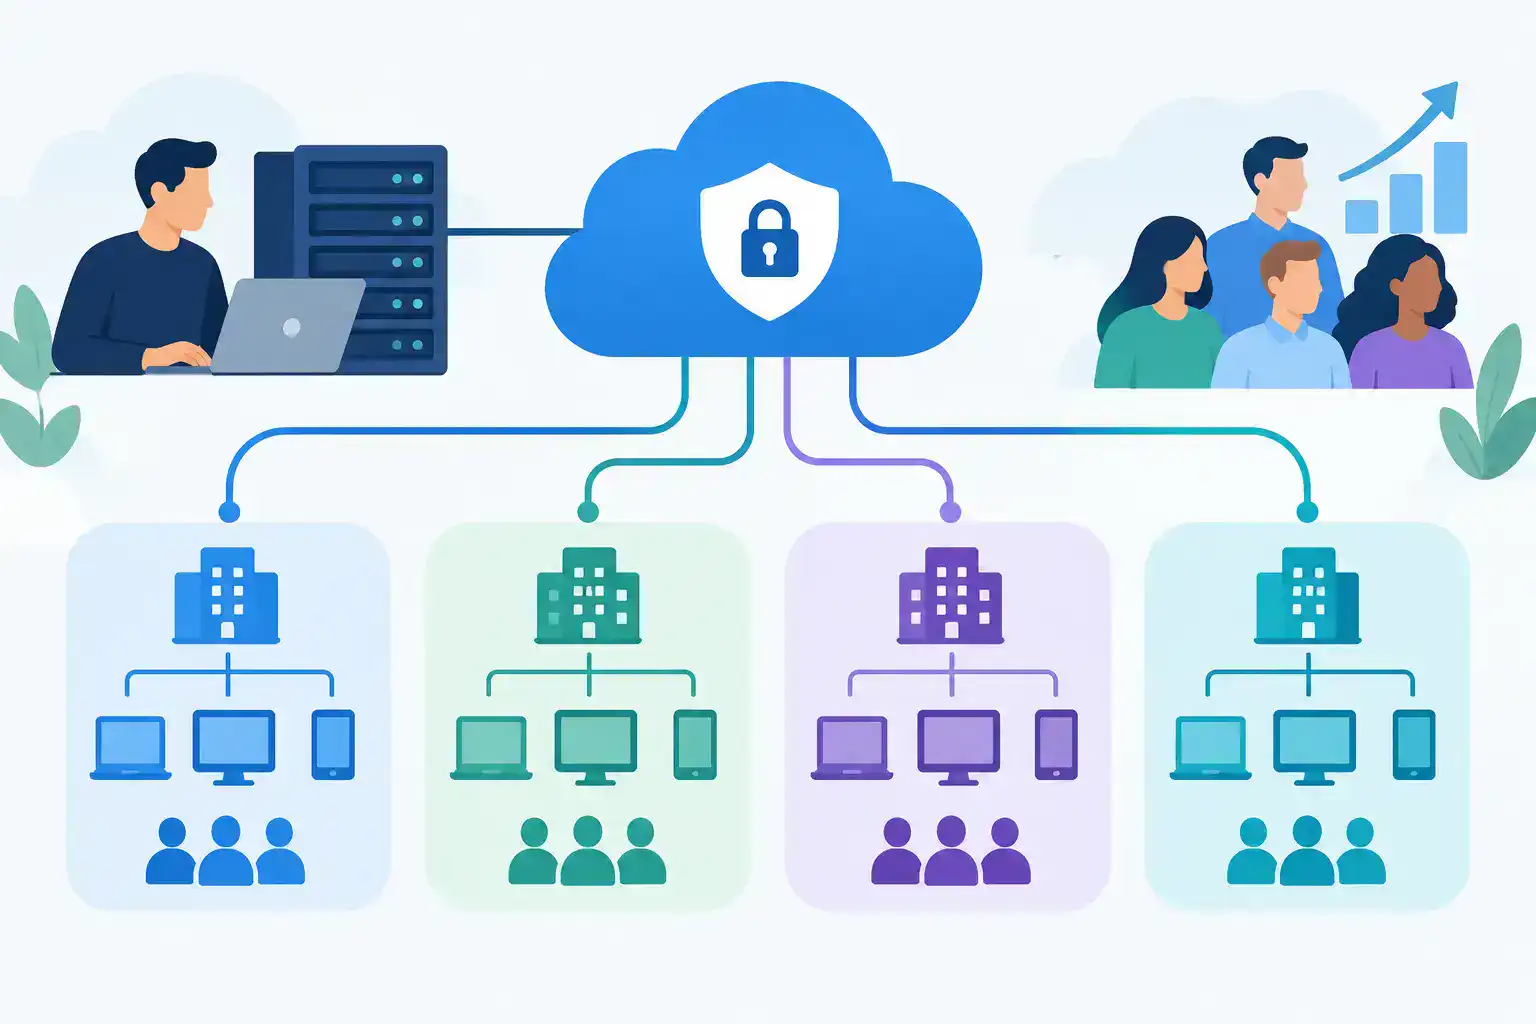
If your organization has multiple locations, use tags or configuration templates carefully. A guest SSID that works at headquarters may not work at a branch where the VLAN is missing or the internet circuit has less capacity. Standardize the policy, but validate the local network path.
Choose NAT mode or bridge mode
Under Access Control or the relevant addressing section, select the client IP assignment method.
With NAT mode, guest clients receive addresses from the access point and use the AP for network address translation. This keeps deployment simple and avoids extending guest VLANs through the switching environment. The trade-off is less visibility and less control through the MX than you receive with a routed VLAN design.
With bridge mode, assign a dedicated VLAN ID. Confirm that the VLAN is configured across the wireless access point uplinks and switches, that DHCP is available, and that the VLAN has a route to the internet. If an MX handles DHCP, verify the scope has sufficient addresses for peak visitor traffic, not just average daily use.
A common failure is creating the SSID first and assuming the network will sort itself out. It will not. A bridged SSID with an unconfigured VLAN often presents as clients connecting successfully but never receiving an IP address.
Add a splash page that fits the use case
A splash page provides an acceptable-use notice or requires an action before internet access is granted. Under Splash Page settings, choose the lightest control that meets your business requirement.
Click-through access works well for many offices, showrooms, and waiting areas. Guests acknowledge terms and get online quickly. Password-based sign-on adds a small layer of control, but shared passwords tend to spread and create extra support requests.
For higher-control environments, consider sponsored guest access, sign-on credentials, or an identity-provider-based workflow. These options can improve accountability, but they also introduce administration work and possible friction for visitors. A contractor arriving at a manufacturing site at 6:00 a.m. should not need three phone calls to receive internet access.
Keep splash page language brief. State that access is provided as a convenience, activity may be monitored where permitted, and users must not attempt to access internal systems. Have counsel review the language if your industry or company policy requires it.
Apply client isolation and traffic rules
Turn on wireless client isolation, sometimes shown as Layer 2 LAN isolation. This prevents one guest device from directly communicating with another guest device on the same SSID. It helps limit exposure from infected or misconfigured personal devices.
Then use wireless firewall and traffic-shaping rules to deny access to internal ranges while allowing required internet traffic. At a minimum, account for every private network range your business uses, including remote sites and VPN-connected networks. If your environment uses 10.0.0.0/8 internally, for example, do not only block the local office subnet and assume the job is done.
The wireless SSID policy should not be the only control. On a bridged design, enforce guest-to-corporate denial at the MX or Layer 3 gateway as well. Defense in depth matters here because a later SSID change, switch change, or routing change should not accidentally create a path into production systems.
Avoid blocking services without checking their purpose. DNS, DHCP, and captive-portal traffic need to function for guests to get online. If you use a hosted splash page or third-party authentication, allow the required destinations before deployment.
Set sensible bandwidth limits
Guest traffic can consume a surprising amount of internet capacity during meetings, training sessions, or retail events. Per-client bandwidth limits keep one device from affecting business-critical applications.
The right limit depends on available bandwidth and the guest experience you intend to provide. A small office with a 200 Mbps circuit may cap guests more tightly than a location with dedicated high-capacity internet. Start with a reasonable limit, observe real utilization, and adjust. Do not set an arbitrary low cap that prevents video calls or software updates and generates complaints.
Validate the Configuration Before Announcing It
A connection test is not complete because a phone joins the SSID. Test with a laptop and a mobile device, ideally from a location with typical signal strength. Confirm the device receives an address from the intended pool, resolves public DNS, reaches ordinary websites, and passes through the splash page as expected.
Then test what should fail. Try to reach an internal web application, printer, file share, network management interface, and a known corporate subnet. If any of those resources respond, stop and review the wireless rules, gateway firewall policy, VLAN routing, and VPN routes.
Use Dashboard client details and event logs to verify the assigned VLAN, authentication result, roaming behavior, and traffic pattern. This is also the time to make sure the SSID is visible only at the intended sites and that access point firmware is current under your change-control process.
A short validation checklist helps avoid missed steps:
- Client receives the expected IP address, gateway, and DNS settings.
- Splash page and acceptable-use workflow appear correctly on mobile and laptop devices.
- Internet access works after authorization.
- Corporate networks, printers, and device-management interfaces are unreachable.
- Client isolation and bandwidth limits behave as intended.
Keep Meraki Guest WiFi Maintainable
Guest WiFi is not a set-it-and-forget-it service. Review the configuration after firewall changes, new site deployments, SSID template updates, or changes to internal IP addressing. A new RFC 1918 subnet added during an expansion can become an unblocked destination if no one updates the guest policy.
Also assign ownership. Someone should be responsible for the splash page wording, password rotation if applicable, monitoring abnormal usage, and approving exceptions. Avoid giving reception staff an informal password that is never rotated and ends up on every visitor’s phone.
For businesses using Meraki across wireless, switching, security, and SD-WAN, configuration validation before an order or rollout can prevent mismatched licenses, missing VLAN support, and deployment delays. Hummingbird Networks can help IT teams validate the design and source the right Meraki hardware and licensing without turning a straightforward guest network into a drawn-out procurement project.
A well-designed guest SSID should fade into the background: visitors get online, internal systems stay separated, and your team is not called in to troubleshoot a preventable access issue. If the design is unclear, validate the configuration before it becomes a production problem.
FAQs
How do you configure Meraki guest WiFi?
To configure Meraki guest WiFi, create a dedicated SSID in Meraki Dashboard, choose NAT or bridge mode, configure guest access, enable client isolation, apply firewall rules, and test connectivity.
What is the difference between NAT mode and bridge mode in Meraki guest WiFi?
NAT mode assigns guest IP addresses through the access point, while bridge mode places guest traffic onto a designated VLAN using the existing network infrastructure.