A Guide to Customizing Your Meraki Splash Page

Table of Contents

The captive portal, or splash page, operates as the digital front door of your business. It is the first thing a user sees when connecting to the guest Wi-Fi, serving as the critical hand-off point between the physical environment and your network. Proper configuration ensures that this initial interaction is both secure for your infrastructure and intuitive for the end user. Customizing this entry point allows you to transition guests onto your network while maintaining brand consistency. The Meraki Splash Page provides a range of options for this process, from basic visual updates to sophisticated, developer-level modifications.
Key Features of Cisco Meraki Splash Page
Before diving into customization, it is essential to establish the core functionality of the portal. Meraki splash pages are designed to balance user convenience with network integrity.
By defining these features early, you ensure that your guest network remains a professional extension of your brand while protecting your primary resources. The dashboard centralizes these controls, allowing for rapid deployment across multi-site environments.
Network Access Control
Meraki splash pages control exactly who accesses the network and how they identify themselves. You configure these parameters directly in the dashboard based on your specific access policies.
Select user authentication options tailored to your security requirements, such as email verification or social logins.
Define specific access levels to ensure guests are isolated from sensitive internal traffic.
Advanced Splash Settings
Beyond the initial connection, you can fine-tune the portal to match specific operational requirements. The dashboard includes several built-in toggles to manage the guest experience directly.
Enable timed access to automatically disconnect users after a specific duration, preventing bandwidth hogging.
Route guests to custom landing pages immediately after they authenticate to promote specific company resources.
Implement GDPR-compliant consent prompts to ensure your data collection practices meet international standards.
Basic Customization (No Coding Required)
You can brand your portal heavily without writing or deploying custom code. By navigating to the Configure > Splash page menu, you gain access to a suite of standard customization tools.
These native controls allow you to build a professional front door in just a few minutes. You have the flexibility to swap colors, text, and images globally across all access points on a specific SSID.
Custom Messaging & Terms of Access
Clear communication helps users understand your network policies right away. The standard configuration allows you to dictate exactly what users read before they connect.
Input your welcome text directly into the "Custom Message" box to set expectations for the guest session.
Use basic HTML tags, like <br/>, within the message box to manage line breaks and basic formatting. Note that available HTML formatting may vary depending on the selected splash mode and theme.
The "Consent" Message
Capturing user agreement is a standard requirement for operating public networks. The "Consent Message" feature effectively forces an opt-in, ensuring users acknowledge your terms before gaining access.
Use the consent feature to maintain data privacy and GDPR compliance across your organization.
Some splash themes and authentication modes may limit the use of the Consent Message feature. Always verify compatibility within your selected splash configuration before finalizing deployment.
Branding & Logos
A recognizable logo builds trust when users connect to a new network. You can easily manage your visual assets directly within the splash page settings to maintain brand consistency.
Upload a custom logo to replace the default Meraki branding on the portal.
Replace an existing image by uploading a newly formatted file directly over the previous asset.
Remove the logo entirely if you prefer a minimalist, text-only approach for your gateway.
Controlling the User Journey
Visual design is only half the configuration process; the user experience after the visual design is equally important. How a user moves from the portal to the internet determines the perceived quality of the connection.
Meraki gives you control over how often users see the page and where they go next. This keeps the connection process predictable and aligned with your marketing or operational goals.
Splash Page Behaviors
You can define the exact sequence of events that follow a successful login. These behaviors dictate the frequency of the portal and the final destination URL.
Set the "Splash Frequency" to determine how often a repeat user must re-authenticate (e.g., daily vs. weekly).
Configure "URL Redirects" to determine if the user goes to their intended URL or a specific marketing landing page after logging in.
Language Support
Serving diverse user bases requires localized communication. The Meraki dashboard supports multiple languages to ensure your terms are accessible to all guests.
Meraki provides localization support for standard interface elements. However, custom text such as welcome messages, legal disclaimers, and consent language must be manually translated by the administrator.
Ensure all legal disclaimers and instructions are translated to meet local regulatory requirements.
Advanced Customization (For Developers & Designers)
Technical teams often want to go beyond the default look of the standard dashboard options. For those who want to build a truly unique experience, Meraki supports advanced customization.
This shift in focus allows for a captive portal that feels like a native part of a company’s web presence. It requires a working knowledge of web development but offers the most flexibility.
Custom Themes
If the default Meraki themes do not meet your design requirements, the Custom Splash Page option provides a blank canvas for deeper customization. This allows for a deeper level of visual integration.
Build unique layouts that deviate from the standard hosted templates.
Use custom themes to align the portal’s UI with your existing mobile apps or corporate website.
HTML & CSS Constraints
While you can write custom code, Meraki enforces strict security boundaries on what you can execute. The dashboard uses a strict "allowlist" of tags and attributes to prevent vulnerabilities.
Stick to allowed tags like <div>, <img>, and <a> to ensure your code renders correctly.
Ensure all links within your custom HTML are HTTPS, as the portal will block non-secure requests.
External Captive Portals
Some organizations prefer to host the portal on their own external servers for complex authentication workflows or proprietary branding.
This is different from a Walled Garden configuration. A Walled Garden allows pre-authentication access to specific domains or IP addresses, while an External Captive Portal redirects users to a separately hosted authentication environment.
Configure the "Custom Splash URL" to redirect users to your own hosted environment.
Manage the entire user data collection and authentication process outside of the Meraki cloud if required.
Troubleshooting Splash Page Issues
Even a straightforward configuration can run into technical roadblocks. Identifying common issues early helps you restore expected functionality quickly for your guests.
Lost Text Formatting: Check your "Custom Message" box for unclosed HTML tags or unsupported spacing characters.
Logo Upload Failures: Ensure your images meet the size and format specifications required by the dashboard.
Broken Links: Verify that every link in your custom code is using HTTPS; otherwise, the portal may fail to load them.
Unsupported Tags: If your custom theme looks incorrect, review the code for tags or attributes not included on the Meraki allowlist.
Important Restrictions & Security
Customizing your network gateway introduces certain security and compliance variables. This section serves as a warning regarding specific configurations that may lock down certain features.
Meraki disables certain capabilities intentionally to protect user data. Understanding these hard limits prevents you from encountering unexpected behavior during deployment.
The "Billing/Paid Access" Exception
If you select "Billing (Paid Access)" as your splash mode, customization is disabled. This is a security measure to prevent hackers from injecting code that could steal financial data.
Plan your design around the default billing layout if you intend to charge for Wi-Fi access.
Recognize that security takes priority over branding in any environment involving financial transactions.
Consent Message Incompatibilities
As previously noted, specific themes do not support every feature. If your consent forms are not appearing, it is likely due to a theme conflict.
Verify that you are not using the "Fluid" theme if you require a mandatory consent opt-in.
Check for compatibility with Facebook Wi-Fi before finalizing your authentication workflow.
Regulatory & Privacy Compliance
The network administrator is ultimately responsible for ensuring their custom messages and consent forms comply with local laws. The hardware provides the platform, but the admin provides the legal context.
Review your splash page text to ensure it meets local data privacy and GDPR standards.
Consult with legal or compliance officers when drafting terms of access for public environments.
Turn Your Guest Wi-Fi Into A Brand Asset
Building an effective Meraki splash page involves a choice between two paths: the quick, no-code route for basic branding, or the advanced route for total control. Both options, when executed correctly, turn a simple utility into a professional brand asset.
Hummingbird Networks can help you maximize your hardware investment and guide you through complex deployments.
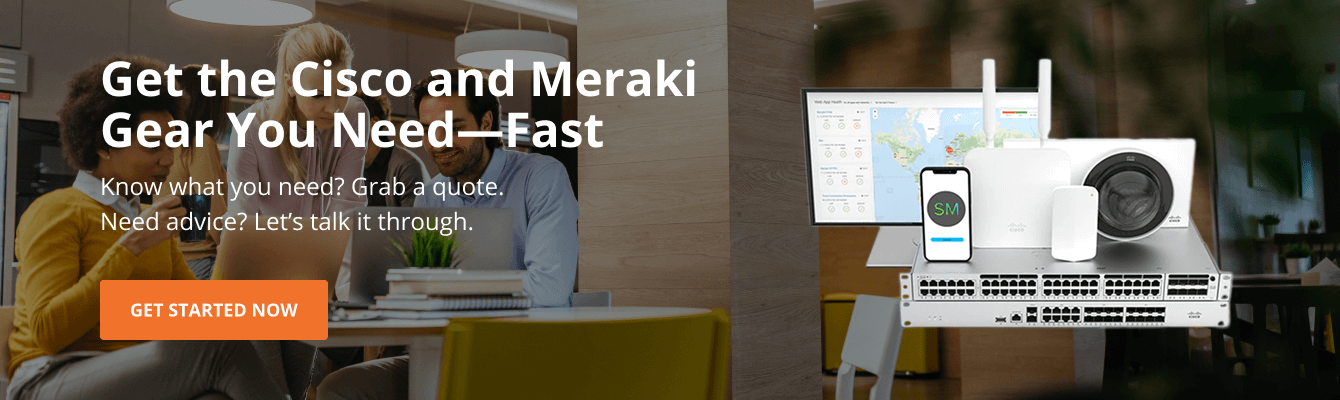
Ready to upgrade your network's capabilities? Explore the full range of cloud-managed access points and features available from Cisco Meraki to start building a better guest experience today.
FAQs
Can I assign different splash pages to different SSIDs on the same Meraki access point?
Yes. Meraki configures captive portals on a per-SSID basis. This means you can run a highly branded guest network alongside a simple, text-only portal for contractors, all on the same physical hardware.
What happens to guest access if the Meraki access point loses its connection to the cloud?
You control this behavior directly in the dashboard. You can configure the network to either allow users to bypass the portal temporarily or block all new connections until the hardware syncs back up with the Meraki cloud. This setting primarily affects new authentication attempts; clients who are already authenticated typically remain connected until their session times out.
Can I bypass the splash page for specific network devices like printers or digital signage?
Yes, you can bypass the portal for headless devices that cannot render a web page. You do this by adding the device's MAC address to the allowlist in your network settings, granting it immediate internet access.
Does the Meraki dashboard let me export guest email addresses for marketing?
Yes, if you configure a splash authentication method that collects email addresses. Export availability depends on your selected authentication mode and your organization’s data retention settings. Be sure to review applicable privacy and compliance requirements before using guest data for marketing purposes.
Can I allow users to reach specific websites before they log in?
Yes. Meraki supports Walled Garden configurations. This allows you to specify certain IP addresses or domains that guests can access without completing the authentication process, which is useful for company websites or ticketing systems.
How long does it take for my splash page updates to push to the live network?
Changes saved in the Meraki dashboard typically deploy to your access points within one to two minutes. It is a fast process, but you should always test the guest experience on a live device after hitting save.
Do Meraki portals support SAML or Single Sign-On integrations?
Meraki does not natively host SAML workflows within its standard splash page. Advanced Single Sign-On integrations require the use of an external authentication server or externally hosted captive portal environment to manage the SAML process.
Can I automate splash page updates across hundreds of locations?
Yes, IT teams managing large multi-site deployments can use the Meraki Dashboard API. This allows you to programmatically update SSID configurations and portal settings without manually clicking through the web interface.