The Core Principles Of Meraki Network Design

Table of Contents
- Laying The Foundation With A Comprehensive Network Blueprint
- Sizing Your Meraki MX Appliance
- Planning Your Wireless Coverage
- Designing A Solid Switching Layer Foundation
- Ensuring Uptime With Meraki High Availability Features
- Configuring Scalable Meraki Network Design Security Policies
- Managing Multiple Sites With Templates
- FAQs
A well-built Meraki network design should run quietly in the background. It should connect people, protect data, and adapt without constant tuning. That kind of stability doesn’t come from chance. It comes from design choices that balance performance, security, and management simplicity.
Whether you are upgrading an existing site or connecting new branches, a solid Meraki design turns complexity into control.
Laying The Foundation With A Comprehensive Network Blueprint
A good design begins with understanding your physical and operational environment. Skipping it almost always guarantees rework later. Fifteen minutes of planning can easily save fifteen hours of troubleshooting.
Map Out Your Physical Sites
Your network lives in physical space, so start there. Each site needs its own summary page detailing floor layout, square footage, and construction materials. Identify where your MDF (main distribution frame) and IDFs (intermediate distribution frames) will live. MDFs should sit in a central area with clean power, cooling, and secure access. IDFs should be within the maximum copper run distance of the farthest endpoint.
Pay close attention to materials that block wireless signals. Concrete, metal, and older masonry can easily cut the range in half. Warehouses, for example, often hide dead zones behind racks and support beams. In older buildings, thick walls can force AP placement changes. Document these barriers early so you can plan around them instead of discovering them during deployment. Photograph key areas where cables will terminate, where APs may mount, and any obstructions that could interfere with coverage.
Upload those floor plans to the Meraki Dashboard under Wireless > Map & Floor Plans and mark where APs and racks will go. This gives you a visual record that saves hours of guesswork later.
Define User And Device Requirements
Once you’ve mapped the space, move on to the people and machines that use it. Start by counting the number of users at each location, then multiply that by the average number of connected devices. Office staff typically carry two to three devices, while warehouse or shop floor staff might have only one.
From there, estimate concurrent usage. In most offices, approximately 70 percent of devices are active at once during business hours. Multiply your total device count by that percentage to get a working concurrency estimate.
Now translate that into bandwidth demand. Basic web and productivity traffic usually requires 1 to 3 Mbps per user. Add 3 to 6 Mbps more for video conferencing or cloud collaboration tools like Teams or Zoom. If your users back up large files or sync to cloud storage, schedule those activities off-hours or shape the traffic to keep peak loads steady.
These numbers shape your throughput and AP density decisions. Without them, sizing is a matter of guesswork, and guesswork leads to dropped calls and lag when the office fills up. The goal here isn’t perfection, but predictability. A basic capacity model prevents overbuying hardware and maintains a consistent experience for everyone.
Outline Your Security And Traffic Policies
Security and traffic policies shape how your network behaves under real-world load. Defining them early ensures performance stays consistent and predictable. Start by identifying your critical applications. Voice, video, and collaboration traffic should always take priority. Background updates and file transfers can be scheduled to run later through traffic shaping in Security & SD-WAN > SD-WAN & Traffic Shaping. This keeps business activity smooth even when bandwidth peaks.
Enable Advanced Malware Protection, Intrusion Detection and Prevention, and content filtering in Threat Protection. These features use processing power, but they prevent the kind of security incidents that cause hours of cleanup and downtime. Choose MX models that can run these protections without affecting speed so security and performance work together, not against each other.
Guest access should stay fully isolated from business traffic. Create a guest SSID in Wireless > Access Control with “Deny local LAN” selected and apply a modest bandwidth limit to keep guest use contained. Clear policies like these create a network that stays fast, secure, and easy to manage without constant adjustment.
Sizing Your Meraki MX Appliance
The MX appliance acts as the network’s control point. It filters, inspects, and routes traffic. Sizing it correctly ensures smooth performance even under full security load. The wrong choice can quietly throttle your bandwidth or create unpredictable latency.
Matching MX Throughput With Your ISP Speed
Start with your ISP’s guaranteed bandwidth. Compare that against the stateful firewall throughput of the MX models you’re considering. But don’t stop there. Security features reduce available throughput because every packet is inspected.
For example, if you have a 500 Mbps circuit, the MX95 is a safer choice than the MX75. The extra headroom means you can enable all protections without sacrificing speed. Check live results in Security & SD-WAN > Appliance status. Toggle security features and observe the direct impact on throughput.
Choose a higher model if your effective throughput drops below your actual circuit speed. It’s better to have extra headroom than to disable protection later to gain performance.
Plan For VPN And SD-WAN Capacity
Meraki’s Auto VPN and SD-WAN capabilities are a major strength, but they consume processing power. Estimate the number of Auto VPN tunnels you’ll need between sites. Each branch typically connects to every other through the hub, which adds up fast.
Next, calculate remote access demand. If 50 remote users connect at once and each consumes 8 Mbps, that’s 400 Mbps of client VPN throughput required. Add that to your site-to-site traffic total to find your true VPN load.
If you’re using SD-WAN for path selection or link steering, make sure your MX model can handle encrypted throughput comfortably. SD-WAN traffic runs continuously, so under-sizing here leads to chronic latency, not temporary slowdowns. Plan for more than your current demand. VPN and SD-WAN usage only grow, and the MX you pick today should still perform two years from now.
Planning Your Wireless Coverage
Wi-Fi design is equal parts coverage and capacity. Too many networks focus on range without considering how many devices will share it. Designing for both avoids congestion and dropped connections.
Choose The Right Access Point Model
Meraki offers several access point families, each optimized for specific environments. Choose your APs based on how the space is used, not how big it is.
General offices work well with MR46 or MR56 units. They handle moderate density with reliable throughput.
High-density areas like classrooms or auditoriums need MR57 models to handle hundreds of concurrent sessions.
Outdoor or dusty environments benefit from MR78 or MR86 units that are sealed and weather-rated.
You can group APs with similar roles under Wireless > RF Profiles to manage settings centrally. Doing this lets you control channel width and transmit power without touching each AP manually. Picking the right AP family prevents performance surprises later and keeps hardware costs aligned with actual needs.
Determine AP Placement And Density
Placement is where design turns into performance. Start with one AP per 1,000 to 1,500 square feet in standard office environments. In denser spaces, drop that to one per 500 square feet. Warehouses should use directional antennas aimed down aisles every 30 to 40 meters to maintain consistent coverage between shelves.
Before locking in placement, upload your site plans to the Dashboard and simulate coverage. Then, walk the site using the Meraki Health app to confirm readings. Adjust channels and transmit power under Wireless > Radio settings to fix overlaps or weak spots.
After installation, fine-tune channel and power settings to avoid interference. Overlapping channels can cut throughput even when signals look strong. Use the Meraki dashboard’s built-in heatmaps and spectrum tools to verify performance. A few hours of validation means years of stable wireless performance.
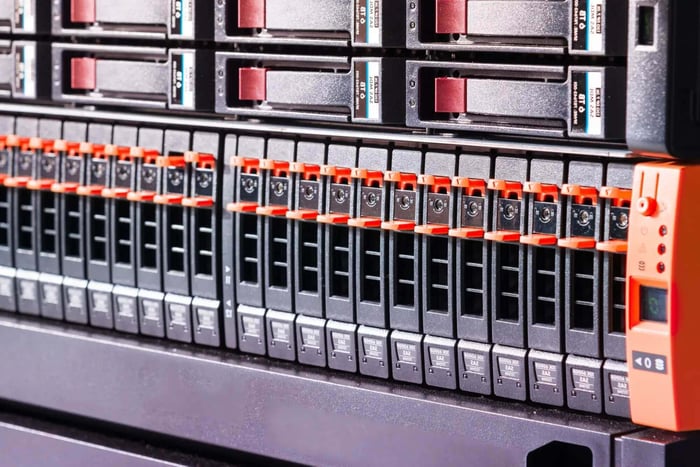
Designing A Solid Switching Layer Foundation
The switching layer determines how efficiently your data and power move. Many networks fail here because PoE limits or uplink bottlenecks go unnoticed until the first outage.
Calculate Your PoE Power Budget
Power over Ethernet (PoE) is simple in theory but easy to misjudge. Add up the power draw of every connected device. APs often use 12–15 watts, VoIP phones 7 watts, and cameras 15–20 watts. Add 20 percent headroom. If your total is 250 watts, pick a switch with at least 300 watts of PoE budget.
Check Switch > Switch ports during setup to confirm load per port. This ensures you don’t hit a power ceiling that forces devices to reboot under load.
Planning PoE correctly avoids a hidden problem: random disconnects that users report as “Wi-Fi drops,” when the real cause is an underpowered switch.
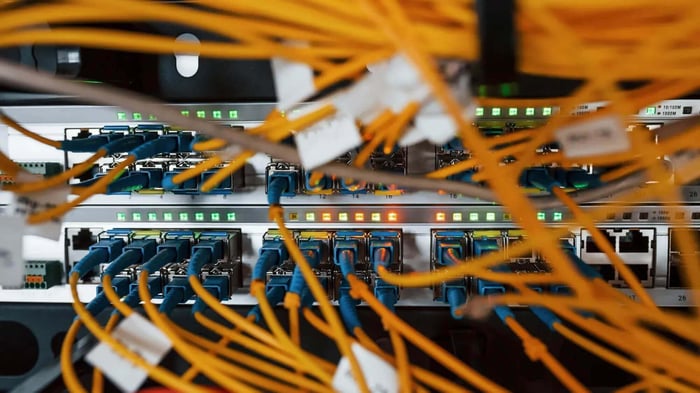
Plan Your Uplink And Stacking Needs
Next, focus on how switches connect to each other and the core. Smaller branches can usually get by with 1G uplinks, but larger sites or those running heavy internal applications should move to 10G SFP+ uplinks.
Stacking switches simplifies management and adds resilience. Enable stacking in Switch > Switch stacks so the switches behave as one. If a single switch in a stack fails, traffic automatically reroutes through another member.
Design uplinks for non-blocking throughput. When east-west traffic between servers or cameras approaches half of the uplink capacity, you risk congestion. Upgrading uplinks before you reach that threshold keeps latency predictable and support tickets quiet.
Ensuring Uptime With Meraki High Availability Features
Availability is a design choice, not luck. Meraki’s built-in redundancy options make it achievable for any SMB that values uptime. Building them in from the start saves hours of recovery later.
Configure MX Warm Spare Failover
A warm spare pair keeps your network running when hardware fails. In Security & SD-WAN > Appliance status, choose “Configure warm spare” and enter the secondary MX serial number. Assign a shared virtual IP.
When the primary goes offline, the spare takes over automatically using VRRP. You can test this by briefly disconnecting the primary uplink. Traffic should continue, and logs will confirm the failover.
Schedule failover tests at least twice a year to confirm that tunnels and sessions reestablish correctly.
Implement Link Aggregation And Redundancy
Link aggregation, managed through LACP, bundles multiple physical ports into a single logical link. This increases bandwidth and creates a fallback path if one cable fails. Configure it in Switch > Switch ports by selecting ports and choosing “Aggregate.”
At the access layer, connect each access switch to two different core switches and enable spanning tree under Switch > Switch settings. That dual path provides instant failover without manual intervention. Use both WAN ports on the MX with two separate ISPs under Security & SD-WAN > Uplink configuration.
These connections create multiple paths so a single link or provider outage doesn’t interrupt service.
Configuring Scalable Meraki Network Design Security Policies
A growing network can quickly turn into a rule-management mess. Group policies and tags prevent that from happening by allowing you to apply consistent rules across users and sites.
Use Group Policies For Granular Control
Go to Network-wide > Group policies and create separate profiles for Corporate, Guest, and IoT devices.
Corporate users usually need full LAN access with priority for collaboration traffic. Guests need only internet access, limited to around 5 Mbps. IoT devices like cameras or thermostats should be isolated to specific VLANs with strict outbound rules.
If your business uses Active Directory, integrate it with Meraki so policy assignment happens automatically when a user logs in. Integrate with Active Directory in Network-wide > Configure > General > Active Directory. Check active policies under Network-wide > Clients.
Apply Tagging For Scalable Management
Tags organize your environment and make bulk changes simple. Apply them in Network-wide > Configure > General to devices, APs, or entire networks. Assign them to devices, networks, or sites to group configurations logically.
Use short, descriptive tags such as “Office-East” or “Store-Front.” You can filter dashboards, run reports, and apply firmware updates based on those tags. Combined with group policies, tags allow automated behaviors such as bandwidth limits or priority handling without extra manual work.
Managing Multiple Sites With Templates
Templates are where Meraki’s management model truly pays off. They make multi-site networks consistent and fast to deploy. Without them, every branch becomes its own unique challenge.
Create A Baseline Configuration Template
Open Organization > Configuration templates and create a new template. Name it clearly, such as “Corporate Standard.” Include SSIDs, VLAN assignments, firewall rules, and traffic shaping settings. Every new site should be bound to this template by default.
Bind new sites by opening Organization > Overview, selecting the network, and choosing “Bind to template.” All configuration applies instantly. You only need to adjust a few details, like WAN IP or local subnets. You can confirm binding under Organization > Configuration templates, where member sites appear below the template name.
Templates turn deployment from days into hours. They also eliminate drift, which keeps your security and compliance posture uniform across every site.
Handle Site-Specific Overrides
Some locations will need exceptions, but they should be limited and deliberate. For example, a manufacturing plant might need a local VLAN for machinery or a static route for a legacy system. To configure one:
Open the site’s network in the Dashboard.
Go to Security & SD-WAN > Addressing & VLANs.
Click “Override” next to the setting you need to change.
Enter the local VLAN or static route details.
Keep overrides to a minimum and document each one. Review them quarterly to make sure they’re still necessary.
Put Your Meraki Network Design Blueprint Into Action
A detailed plan deserves careful execution. Preconfigure hardware in the Dashboard, stage devices, and test before shipment. During installation, verify PoE budgets, AP placement, and failover behavior. Use Appliance status, Switch ports, and Wireless overview to confirm performance meets expectations.
If you prefer an expert touch, Hummingbird Networks can design, configure, and validate your Meraki environment to ensure stability from day one. A well-planned design today means fewer disruptions and a network that supports growth for years.
A strong design starts with the right hardware. Explore the full capabilities of Meraki before you build.
FAQs
What is Meraki network design?
Meraki network design is the process of planning wireless, switching, security, and WAN infrastructure to create a scalable, secure, and high-performing network.
Why is proper MX sizing important in a Meraki network?
Choosing the correct MX appliance ensures your network can support internet bandwidth, VPN traffic, and security features without performance bottlenecks.
How do configuration templates help manage multiple Meraki sites?
Configuration templates allow IT teams to standardize settings across locations, reducing deployment time and maintaining consistent security and network policies.